Richmond Grows Seed Lending Library is a non-profit seed lending library that first opened in 2010. While our aim is to be a local model for sustainability, we also support other communities in creating their own seed lending library and seed interchanges. Since we opened in May 2010, over 800 seed lending libraries have opened!
All of our materials are free and available for non-commercial purposes. We’ve put together this helpful guide to get you started on creating a seed library in your community.
Step 1: Get Your People Together
Who is going to help you? What are some natural alliances that you can create with other community groups or businesses?

Here are a few ideas:
- A permaculture guild or transition town initiative
- A local garden club
- Master gardeners
- Library or community space holders
- Check to see if there are sister libraries located near you or in a similar bioregion. They may have suggestions or seed saving and library material adapted to your situation.
Step 2: Locate Your Space
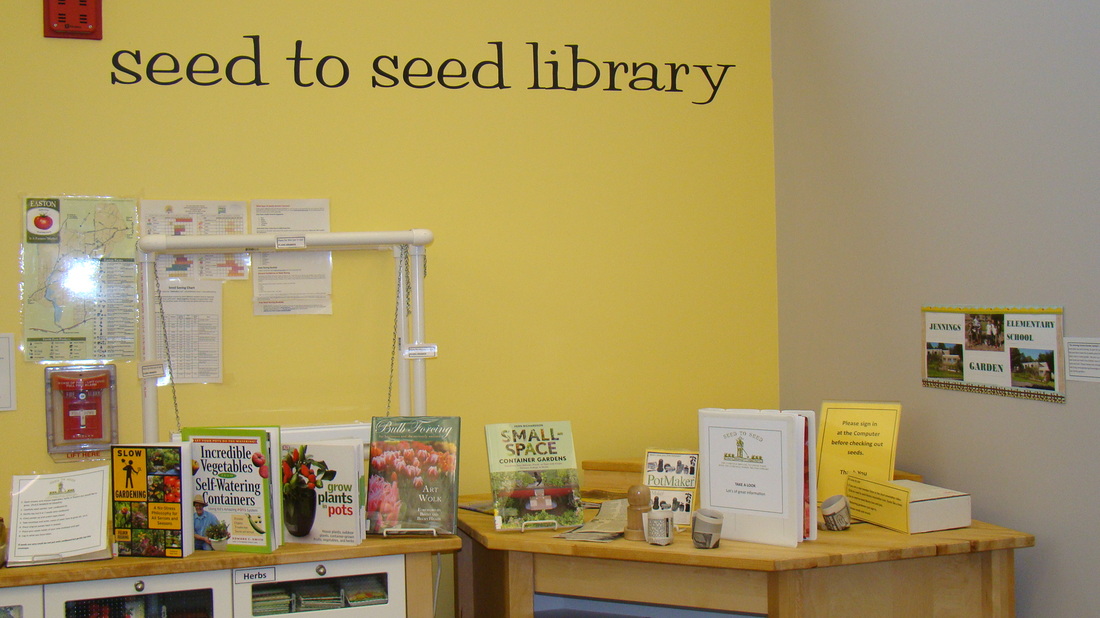
Get your space. We recommend a well-visited community space. Pick a venue that is frequented by the general public. We chose the main branch of the local public library since it is open to the public, widely used by a broad spectrum of citizens, and the missions of Richmond Grows and the public library dovetail nicely.

Step 3: Acquire Library Materials
You’ll need a sturdy cabinet for the seeds and, of course, seeds. We recommend that you get a wooden cabinet as you are probably going to have to put some dividers in the drawers to organize the seeds into rows. The height of the drawers is important as it should be high enough to accommodate a regular-sized seed packet, but not too high as to waste space. A good height for the drawer is about 6 inches.
Things you’ll need:
- Cabinets for seeds
- Seeds — Write to seed companies and explain your project and the community that you will be serving; be sure to include the seed-saving aspect in your letter so that you don’t get hybrid seeds.
- Labels for the outside of the drawers
- Labels for dividers (in drawers)
- Dividers for different types of seeds (You’ll need around 50 just for the vegetables and fruits)
- Wooden dividers for the drawer (Drawers are much wider than seed packets; having dividers creating rows of seeds will keep it more organized)
- 1-2 stamps for checking in and out
- 1-2 stamp pads
- Donated envelopes for borrowing seeds (Don’t use envelopes with open windows; check local printers for discards; legal-sized envelopes, sealed with edge taped shut, then cut in half are a great size for people returning seeds to the library.)
- A ledger (either online or in-person) to keep record of members checking out and donating/returning seeds.
Step 4: Label Your Seeds
When you get your drawers for your seeds, you will need to clearly label them. The labels serve a dual purpose of helping members find and return seeds easily while educating them about plant families and the difficulty of different families to save seeds.
Our vegetables are labeled by plant families. We recommend that you put easy-to-save seeds in the upper drawers and difficult ones further down.

Besides labeling the families in each drawer and including some common family members, we also recommend that you clearly label the difficulty of the seeds to be saved. The three categories we use are Super Easy, Easy, and Difficult.
NOTE: All of our labels are for the San Francisco Bay Area. Certain families may be more difficult in your region if you have cold winters. Tomatoes, lettuce, beans, and beans are “super easy” regardless of your climate.
Labels for inside of drawers
1. Amaranth (Goosefoot) Family
2. Gourd Family
3. Grass Family
4. Lily Family
5. Mint Family
6. Mustard Family
7. Nightshade Family
8. Parsley Family
9. Pea Family
10. Sunflower Family
11. Miscellaneous Edibles
We also have numbers on the drawer and an alphabetized list of common edibles so people can easily find a plant. Ex. Arugula – Drawer 9 – Super easy. Here is our list along with Spanish translations. If you have a small collection, this will probably not be necessary.
Seed Markers– when people check out seeds it’s helpful to have “seed markers” (kind of like book markers) available for them to stick in the drawers so they can easily return packets where they found them. We had a number of them made on card stock and used a variety of colors so if several people are using the library simultaneous, such as at an orientation, they can keep track of which spaces are theirs by using only one color of marker. Now that we are mostly in jars, these seed markers have become less important.
Step 5: Create Your Brochures
Educating people about seed saving is an essential part of the library. Otherwise, you may get a lot of things that aren’t what they claim to be. Every time we do an orientation, we provide “How to Save Seeds” brochures and refer people to our website for additional resources. Around harvest time, we will also offer some basic seed-saving classes.
We have a “Super easy seed saving brochure.” But, there are lots more resources at SeedLibraries.net.
Note: Language access is an important factor to consider when printing brochures. Make sure to have literature available in multiple languages, if the linguistic makeup of your community calls for it. We provide brochures in English, Spanish and Mandarin.
Step 6: Launch Your Seed Library
One way to launch your seed lending library is to have a seed swap. Be sure to have volunteers who can help new gardeners and seed sharers get started. You can post orientation invitations on local listserves and even invite local officials and press to your grand opening.

Step 7: Host Orientations to the Library
Orientations help people know how to use the library properly, as well as understand how they can make the library self-sustaining. They can be 30-minute long sessions. Our orientations occur online, with the focus of the orientation being what is the library, how the library is organized, and how to check out seeds.
Share orientation dates and details with neighborhood councils, garden clubs, and other community listserves. You can also reach out to potential attendees through social media. Use Eventbrite, or a similar site, to help promote your event and keep track of registrations.
This guide was taken with permission from the group’s website and originally published in a 2014 Shareable article.
Check out Seed Libraries to see a more extensive list of resources to support existing and emerging seed libraries. Join UpBeet! to connect with other seed librarians. Apply to become a sister seed to RGSLL library here.


