
Have you put a lot of effort into building your organization's Facebook Fan Page? Do you want to make the most of the chance to engage supporters and – given declining organic Facebook reach – ensure you can communicate directly with them in the future?
If so, you need to put a tab on your Facebook page that enables people to subscribe to your mailing list. This will direct more of your supporters into a media channel that you actually control, instead of keeping them in a corporate channel that increasingly wants to charge you to reach your own supporters.
Below are some instructions for how to set up and customize an email sign up tab for your Facebook page:
1. Make sure you are signed into your Facebook account (and that you are an admin of the page you wish to add a tab to).
2. Go to this link: https://apps.facebook.com/static_html_plus/ – you will see this:
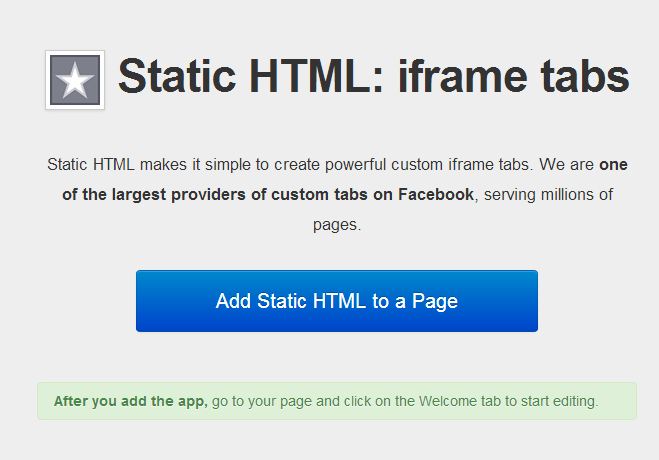
Then select the page you'd like to add the tab to. The system will add the Static HTML tab to your selected page automatically.

You now have the app installed that will enable you to create a custom tab.
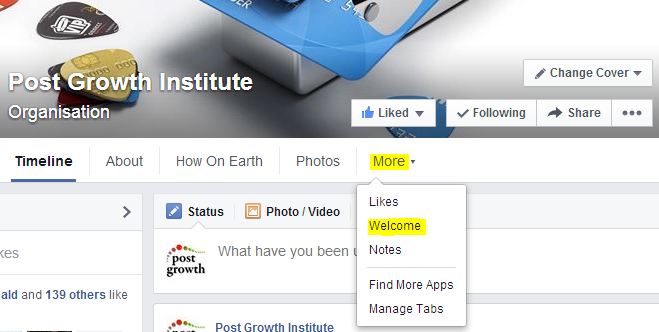
3. Go to your Facebook page and (if a tab 'Welcome' is not visible across the top of your page, just under the cover picture) click on 'More' and you will see your new 'Welcome' tab in the drop down list. Right now, it will be blank if you click on it.
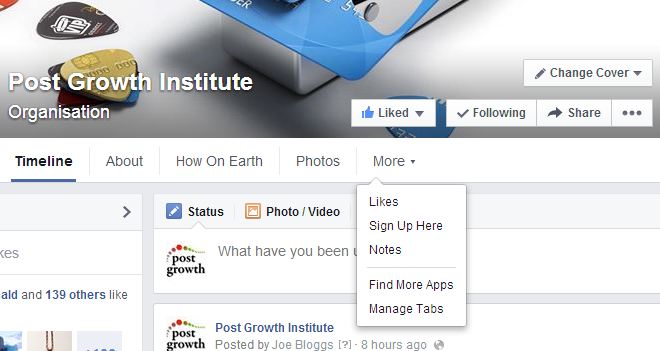
'Welcome' is the default tab name. You can change the name (and the tab image which displays further down the page on the left) of the tab by going to Settings/Apps/Edit Settings. Here, you can change the Static HTML tab name from 'Welcome' to 'Sign Up Now' or 'Email Updates', or whatever you like. You can make the tab image whatever you like too, but the image dimensions must be 111 pixels wide by 74 pixels in height.

4. Next, go to your page and navigate to your new tab (which may still be under the 'More' dropdown menu, but that can be changed once the tab is ready). You will see a blank area under 'index.html', highlighted in yellow in the screen grab below, where you can paste HTML code (overwriting what is already in the box):

This application lets you include any static HTML, and the easiest thing to do will be to log in to the platform that issues your email updates are issued (eg. MailChimp, Campaign Monitor, Vertical Response etc) and look for the option where you can design a sign up or email opt in form. There are no one size fits all instructions, as this will vary according to which system people use – eg. MailChimp has an integration widget which steps you through the process; Vertical Response automatically generates the HMTL.
What you need is a form design that adds people to your email list, if you have an existing list. Design your form, choose which fields you want people to complete and whether they are required or optional. Your system should prompt you to specify which list to add new signups to. Then paste the HTML into the blank area of your new Facebook page tab and publish (Mailchimp automatically pulls this content in).
5. Once your new tab is ready, make sure it displays on your Facebook page by going to the 'More' button (next to Timeline, Photos, About etc) and choosing 'Manage Tabs' from the dropdown menu.
This will determine what options people see just below the cover pic, bearing in mind, most people won't think to look at the drop down menu for more apps. You can't shift the About tab, but you might want to bump 'Likes' or 'Photos' down to allow your new tab to be visible.
Drag your new tab up the list so that it will display on your page from here:

To here:

Hit save, and there you have it! Your new tab will be displayed on your page, and you have a new way to build your own media channel from value you have built on Facebook.
Please share any other tips or comments you have below.