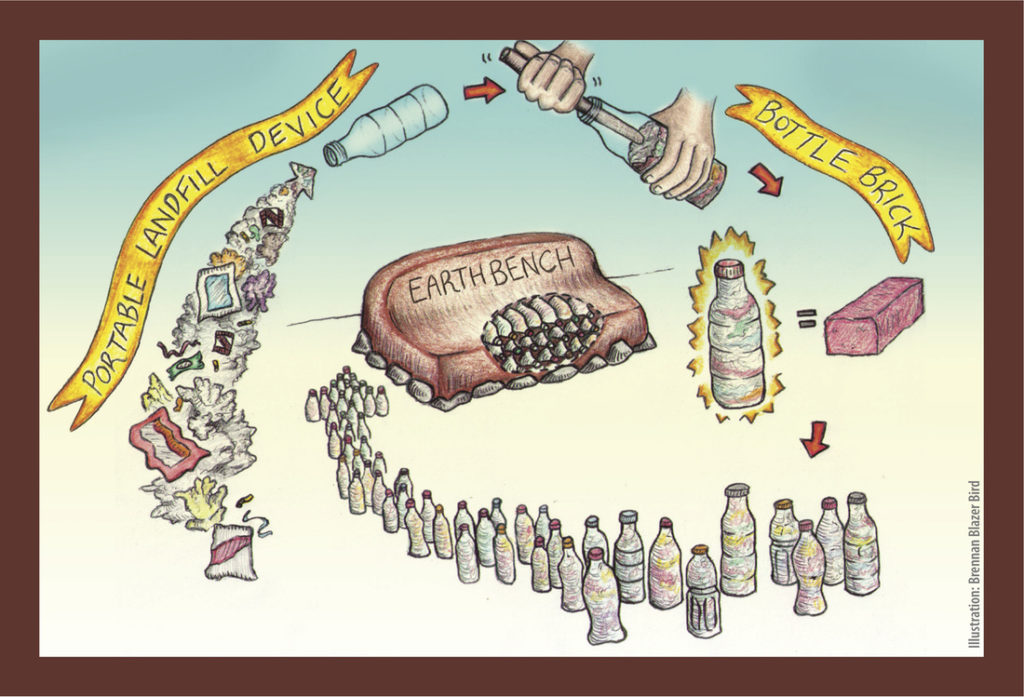

This story was updated in January 2021. Bottle Bricks are a simple and accessible technology that can transform everyday plastic materials into a useful building material — plastic bottles stuffed full of trash until they are as compact as bricks. Bottle Bricks are known widely as “EcoBricks” or “EcoLadrillos” in Spanish and have also been called “Portable Landfill Devices.” Bottle Bricks have been used to build houses, school buildings, and other structures for well over a decade in Latin America and they are now increasingly being used around the world as a viable way to clean up the environment, prevent plastic pollution, and create a much-needed building material.
The process is incredibly simple — collect dry inorganic waste material (plastic bags, plastic wrappers, twist ties, etc.) and stuff it into a clean plastic bottle with a wooden stick or spoon. The more you stuff, the more plastic you will divert from the landfill or clean up out of the environment, and the stronger your bottle brick will be!
This How-to will explore some tips on how to make an excellent bottle brick; how to collect a large number of bottle bricks for a project; and share some ideas about different structures or projects you could build using your finished bottles.
Our modern trashcans are way too big – throw away your trashcan and replace it with a bottle!

Step 1: Collect Your Inorganic Waste Material
Begin by collecting all your inorganic waste material (anything that is not biodegradable) that could fit into a plastic bottle. This includes plastic bags, plastic wrappers, plastic mesh, twist ties, plastic-coated paper, receipts, cigarette butts, produce stickers, etc. Some items you might not immediately consider are bottle caps (not recyclable), floss (twice a day!), clothes dryer lint, and some small rigid pieces of plastic (like those darn bread bag ties). You want to avoid getting organic matter and moisture into the bottle as much as possible, but a little bit of leftover crumbs or moisture isn’t an issue. If you have plastic material that is coated in food, you can wash it and hang it up to dry before stuffing it in a bottle.
There are two main ways to make a bottle brick. One way is to collect all your dry inorganic waste and then stuff the bottles later. The other way is to leave a bottle out in your kitchen, in your car, in your workplace, and stuff as you go. I recommend both methods.

Step 2: Obtain a Plastic Bottle!
I cannot tell you how many people have told me the same excuse: “Oh, bottle bricks are cool and all, but I don’t drink out of plastic bottles.” Well neither do I! Plastic bottles are unfortunately ubiquitous in our society; there is no excuse for not being able to find one. You don’t need to buy a plastic bottle — raid a local recycling bin, visit your local gym, or pick that one right off the street. I prefer 20oz. energy drink bottles — they make the best bottle bricks because of their wider mouth. You’ll want to have it mostly clean and dry before using it. Depending on the use of your plastic bricks, it’s best to have them all be the same size. Plastic water bottles are flimsier but can be used alongside the sturdier 20oz. bottles. You’ll want to take off the plastic label and stuff it before you actually use the bottle brick.

Step 3: Start Stuffing Your Bottle Brick!
Time for the fun part! Stuff all that plastic waste into the bottle and use a sturdy stick or the end of a wooden spoon to stuff it in! It’s very important to stuff as you go so that you minimize air space and maximize the amount of trash you can fit in. Smaller pieces of trash work better, so if you have large pieces get some scissors and cut them down first. Don’t lose the bottle cap because you’ll need that in the end! If you’re stuffing as you go, leave a stick or spoon handy by the bottle.
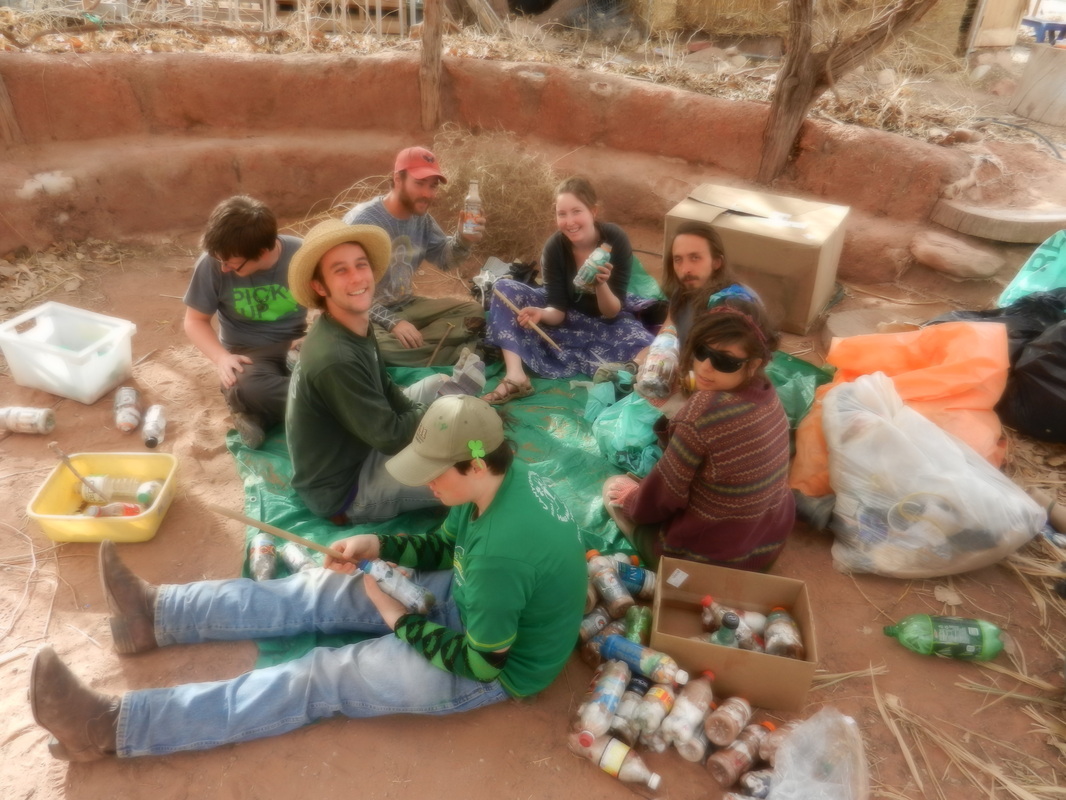
If you’re collecting and stuffing later, consider having a bottle brick stuffing party with friends or small children (they are the best stuffers) to make the task easier. Make sure to have all the supplies on hand — enough clean plastic bottles, sticks, a tarp below to collect loose plastic, buckets or bags full of plastic trash, scissors to cut larger pieces, and gloves (optional). Watching a movie while stuffing is a favorite pastime of mine. Small children will try to convince you that their bottle is finished well before it actually is. Administer the “stuff test” by squeezing the bottle and then stuffing down the plastic with a stick. Nice try kiddo — keep stuffing!
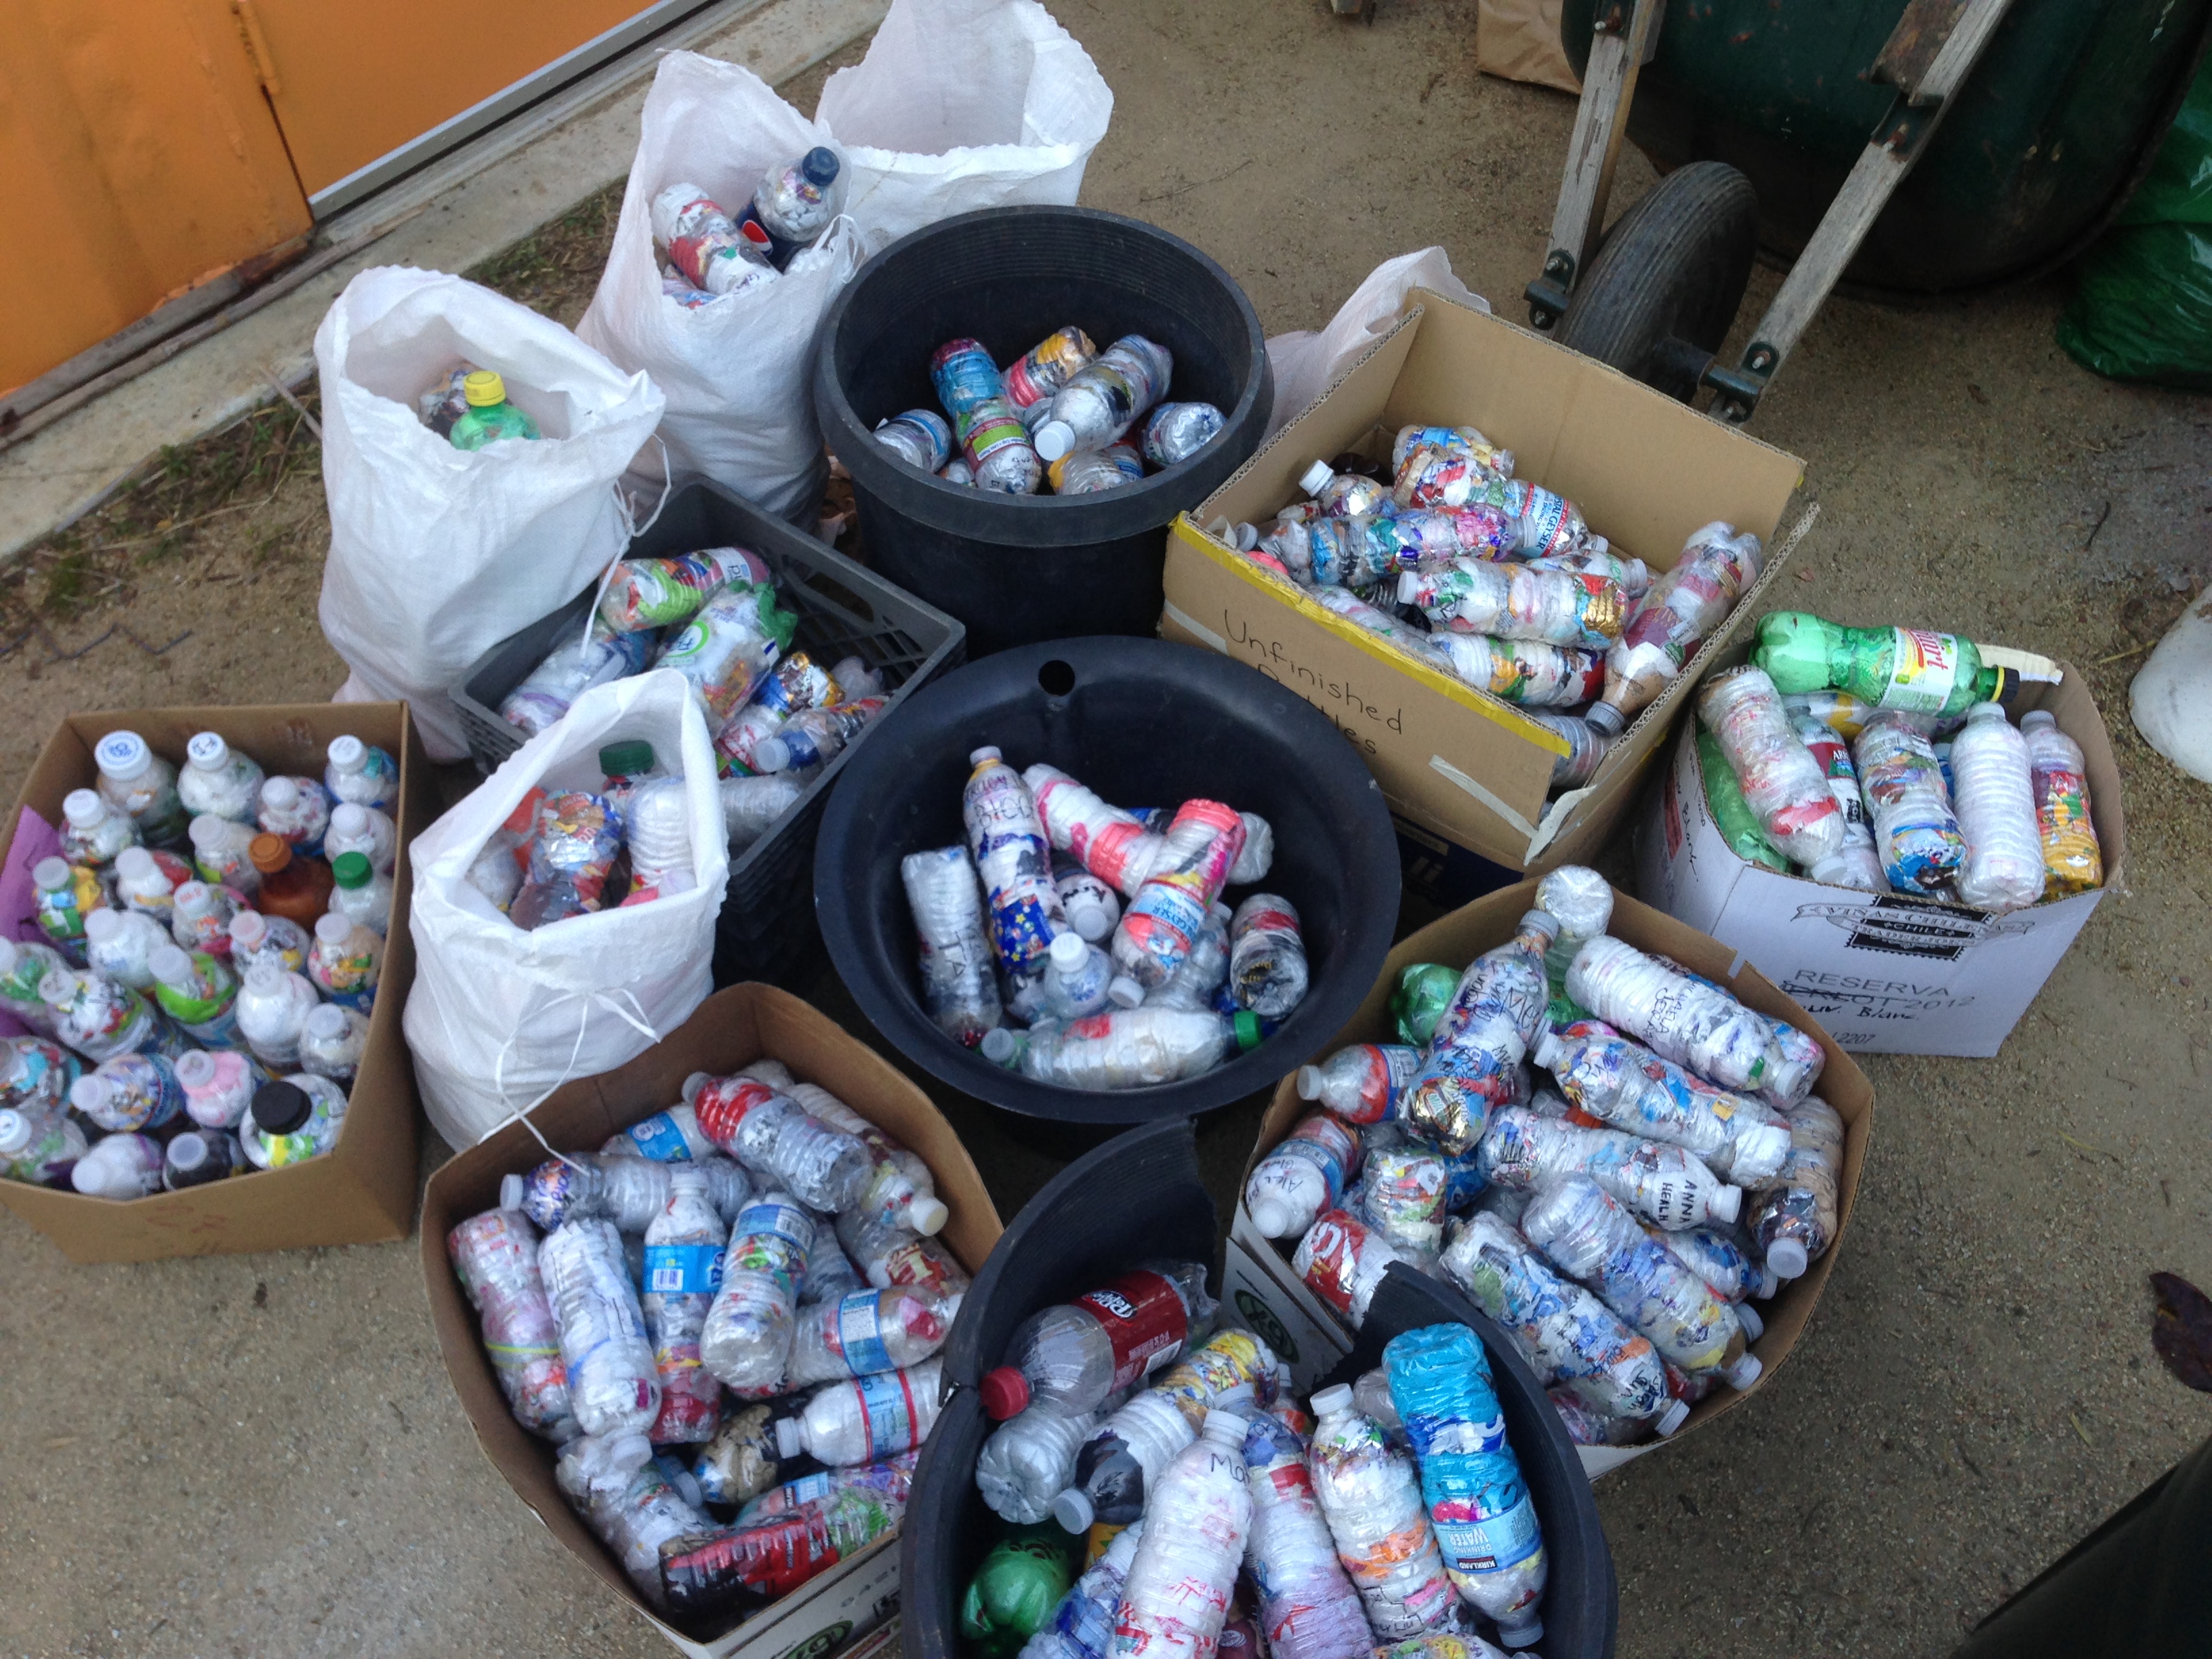
Step 4: Bottle Bricks — Gotta Collect ‘Em All!
Once you have one completed bottle brick the best thing to do is to start another one! Maybe all this stuffing of your trash will make you consider adjusting your waste habits in the first place? Do you really need all those plastic produce bags, or could you just buy your fruits and vegetables as they are? Or bring your own reusable mesh produce bag? My ultimate goal is to raise awareness about our own waste consumption. Bottle bricks force us to take all that stuff that gets thrown “away” and bring it out into the open, to stuff it into a bottle and make it into something useful. Consider motivating your friends and family to start stuffing bottle bricks too. If you’re leading a project at a school, hold a contest or incentive for students to make as many bottle bricks as they can. Store your bottle bricks in containers for a future project, or leave them out on your mantle place as a conversation piece.
Step 5: Okay… What do I do with all these Bottle Bricks?
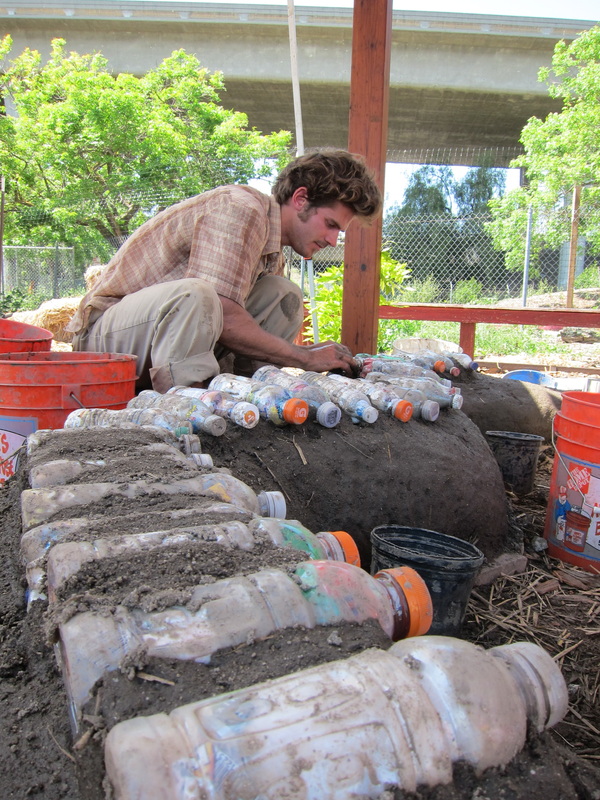
The golden question! The two main ways of building with this material are structurally and non-structurally. Structural use means stacking the bottles horizontally with either a concrete or earthen-based mortar in between, very similar to how you would stack regular bricks. Non-structural use would be stacking the bottles vertically between two posts and horizontal supports. In this case, the bottle bricks are more like in-fill or insulation rather than bricks.
Bottle brick benches are great school and backyard projects. To learn more about these, please visit earthbench.org. For additional how-to’s look here: earthbench.org/how-to-earthbench.html
Other ideas include — making a birdhouse, a Little Free Library, a planter bed, a recycling bin, a dog house, a tool shed, etc. Your imagination is the limit. If you don’t have any building experience, I highly recommend you find a competent builder who can help you design and execute your project.